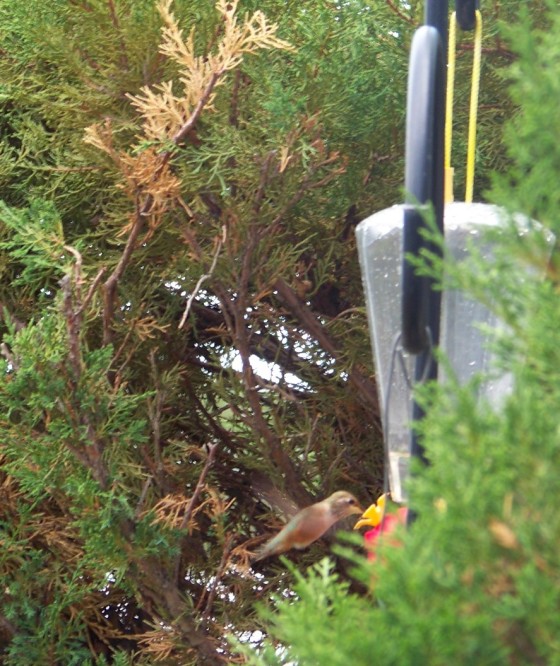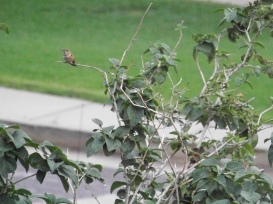
Humming birds love to bop around the area of the feeder…

having more than one feeder is nice too….
Homemade Hummingbird Food: an essential part of your hummingbird experience

 |
Besides just watching the hummingbirds at your feeder as they drink the nectar, making your own homemade hummingbird food formula is just one more way to enjoy your hummingbird experience and discover the pleasure you derive from making homemade hummingbird food with your own two hands.
|
The only two ingredients you need are sugar and water. It only takes a few minutes to make your own homemade hummingbird food and making your own will also save you some money. So let’s get started.
Homemade hummingbird food formula:
The formula for homemade hummingbird food is 1 part sugar to 4 parts water. Ordinary white granulated table sugar and tap water is all you will need to make hummingbird food. No honey, no brown sugar, no sugar substitutes, no red food coloring, nothing else is added to the homemade hummingbird food recipe.
First, add the water to a pan and bring to a boil on your stove top.
Next add the sugar to the boiling water and stir until the sugar is dissolved.
If you use 4 cups of water, you will use 1 cup of sugar. If you use 2 cups of water, you will use ½ cup of sugar. This will keep your 4 to 1 ration which is close to what is found actual flower nectar. If you want to do a sweeter nectar just add more sugar to your water. I like to keep my nectar at a 2 to 1 ratio. 2 cups water to 1cup of sugar. The humming birds love a sweet nectar.
Boil the homemade hummingbird food formula about 2 minutes. This will boil out the chlorine if there is any in the water and will kill any impurities in the sugar that might cause it to spoil quicker.
If you boil too long you will boil away too much water and change the 4 to 1 ratio and end up with a nectar that has more sugar than what occurs naturally in flower blooms. Also a higher sugar content may cause your homemade hummingbird food to ferment quicker and have to be changed sooner. Bees are also attracted more to a nectar that has a higher sugar content.
Once your homemade hummingbird food formula has boiled and the sugar has dissolved, you can take it off the heat and let it cool.
When it’s cool you can add it to your feeder and any excess nectar that you might have can be stored in the refrigerator for up to 2 weeks. I find that you DO NOT need to add food coloring to your nectar. They come for the nectar as long as it’s clean and fresh.
The homemade hummingbird food formula in your feeder will have to be changed every so often to keep it fresh so it doesn’t ferment and end up with mold growing in it.
Your nectar will start to turn cloudy when it needs to be changed. The amount of time your homemade hummingbird food formula will last before fermenting and needs changing will vary depending on how hot the weather is. The cooler the weather, the longer it will stay fresh and the longer you can go without changing it.
The hotter the weather, the quicker you nectar will ferment and the sooner it will have to be changed to keep it fresh. As I said before, you can watch to see when your homemade hummingbird food starts to turn cloudy, then change it.
Here is a general guide line you can use to help determine how long your homemade hummingbird food formula might last before needing changed.
High temperatures Change nectar after
71-75———————- 6 days
76-80———————- 5 days
81-84———————- 4 days
85-88———————- 3 days
89-92———————- 2 days
93+———————— change daily
Every time you change the homemade hummingbird food formula, rinse out your feeder with hot water. You will need to clean your feeder about once a week. The National Audubon Society says this should be done by rinsing with 1 part white vinegar to 4 parts water. Follow the vinegar wash by rinsing your feeder three times with clear warm water before refilling with fresh hummingbird sugar solution.
If mold starts to grow in your homemade hummingbird food formula, because you didn’t change it soon enough, you will have to clean it with a stronger solution to kill the mold and sterilize your feeder.
|
You will have to soak your feeder in a mild bleach water solution. Soak your feeder in a 10% bleach 90% water solution for an hour. To help clean out the mold you may need to buy a set of brushes that will reach inside the feeder and into the feeder holes. |
When done soaking, the feeder should be thoroughly rinsed 3 or 4 times with water. All traces of bleach solution must be removed.
To make feeder cleaning a lot less work, you need to start with a feeder that will allow you to easily reach all the inside spots to clean them.
Now that your homemade hummingbird food formula is done, you will need to get a feeder that is easy to take apart and clean, and one that will also protect your homemade hummingbird food formula from bees ants and wasps. Have fun and enjoy!